Every time I decide what the perfect Game Boy is, something happens and I reconsider. The same can be said for many retro systems, because there seems to be an endless stream of hacks, addons and mods for almost anything from the 80s, 90s and 00s nowadays.
Previously (see here), I had considered the GBA SP 101 with a new shell and fixed shoulder buttons to be the perfect Game Boy, since I love the form factor and the screen was lights ahead the GBA SP 001 and of course the original GBA non lit screen. Since then, I modded the original GBA with a very nice backlit screen that improved things dramatically and made it very playable in all lighting conditions, on par with the SP 101.
Now, it’s time to take my SP 001 and take it to another level by installing the best screen on the market, the Funnyplay v2 IPS Laminated display.
This display is hands down the best one yet. IPS colors, 5 brighness levels (and it gets REALLY bright on the highest one), 4x the pixels of the GBA resolution, resulting in no distance between pixels, very fluid (no tearing like previous Funnyplay displays), infinite viewing angles and the display is laminated to the glass, so no dust between the glass and the screen ever and the screen seems to pop. Oh, and the price is very competitive compared to backlit aftermarket displays.

I am really struggling to find anything bad about this mod, but if I had to I would say that it may use a bit more battery. And that’s about it.
The display came in a nice orange box that kept everything safe. In there you will find the display itself, a ribbon cable with a small circuit board and a very thin wire. Oh, and a square white foam that you have to put behind the screen.
If you plug the display on the ribbon cable and plug the ribbon cable where the old SP 001 (or SP 101, works there too) display was, it just works. So if you don’t care about the different brightness levels, you are done.
I modded my only SP 001.
Modding was relatively easy. The hardest parts was trimming the back cover of the display to allow it to fit and soldering the thin cable to enable the brightess button to switch between the 5 brightess levels.
You have to trim only one side as shown below, and don’t forget to put the foam behind the screen before closing.
For the easy soldering part, which you should do after you pass place the display, connect the ribbon cable and pass it through the opening, the thin cable must be soldered on:
a) the solder point on the ribbon cable itself, as shown here:
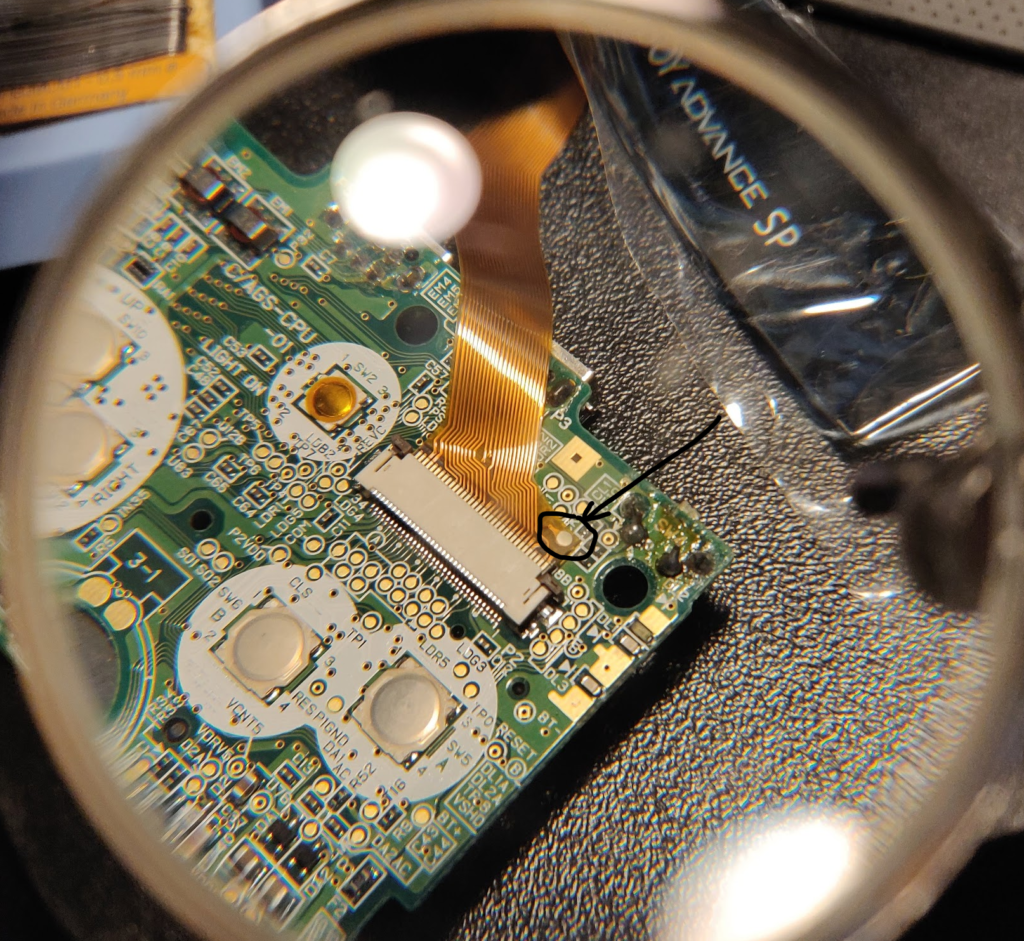
b) the solder point marked Q12B on the motherboard of the SP, as shown here:

This is it. Close everything up and you are good to go.
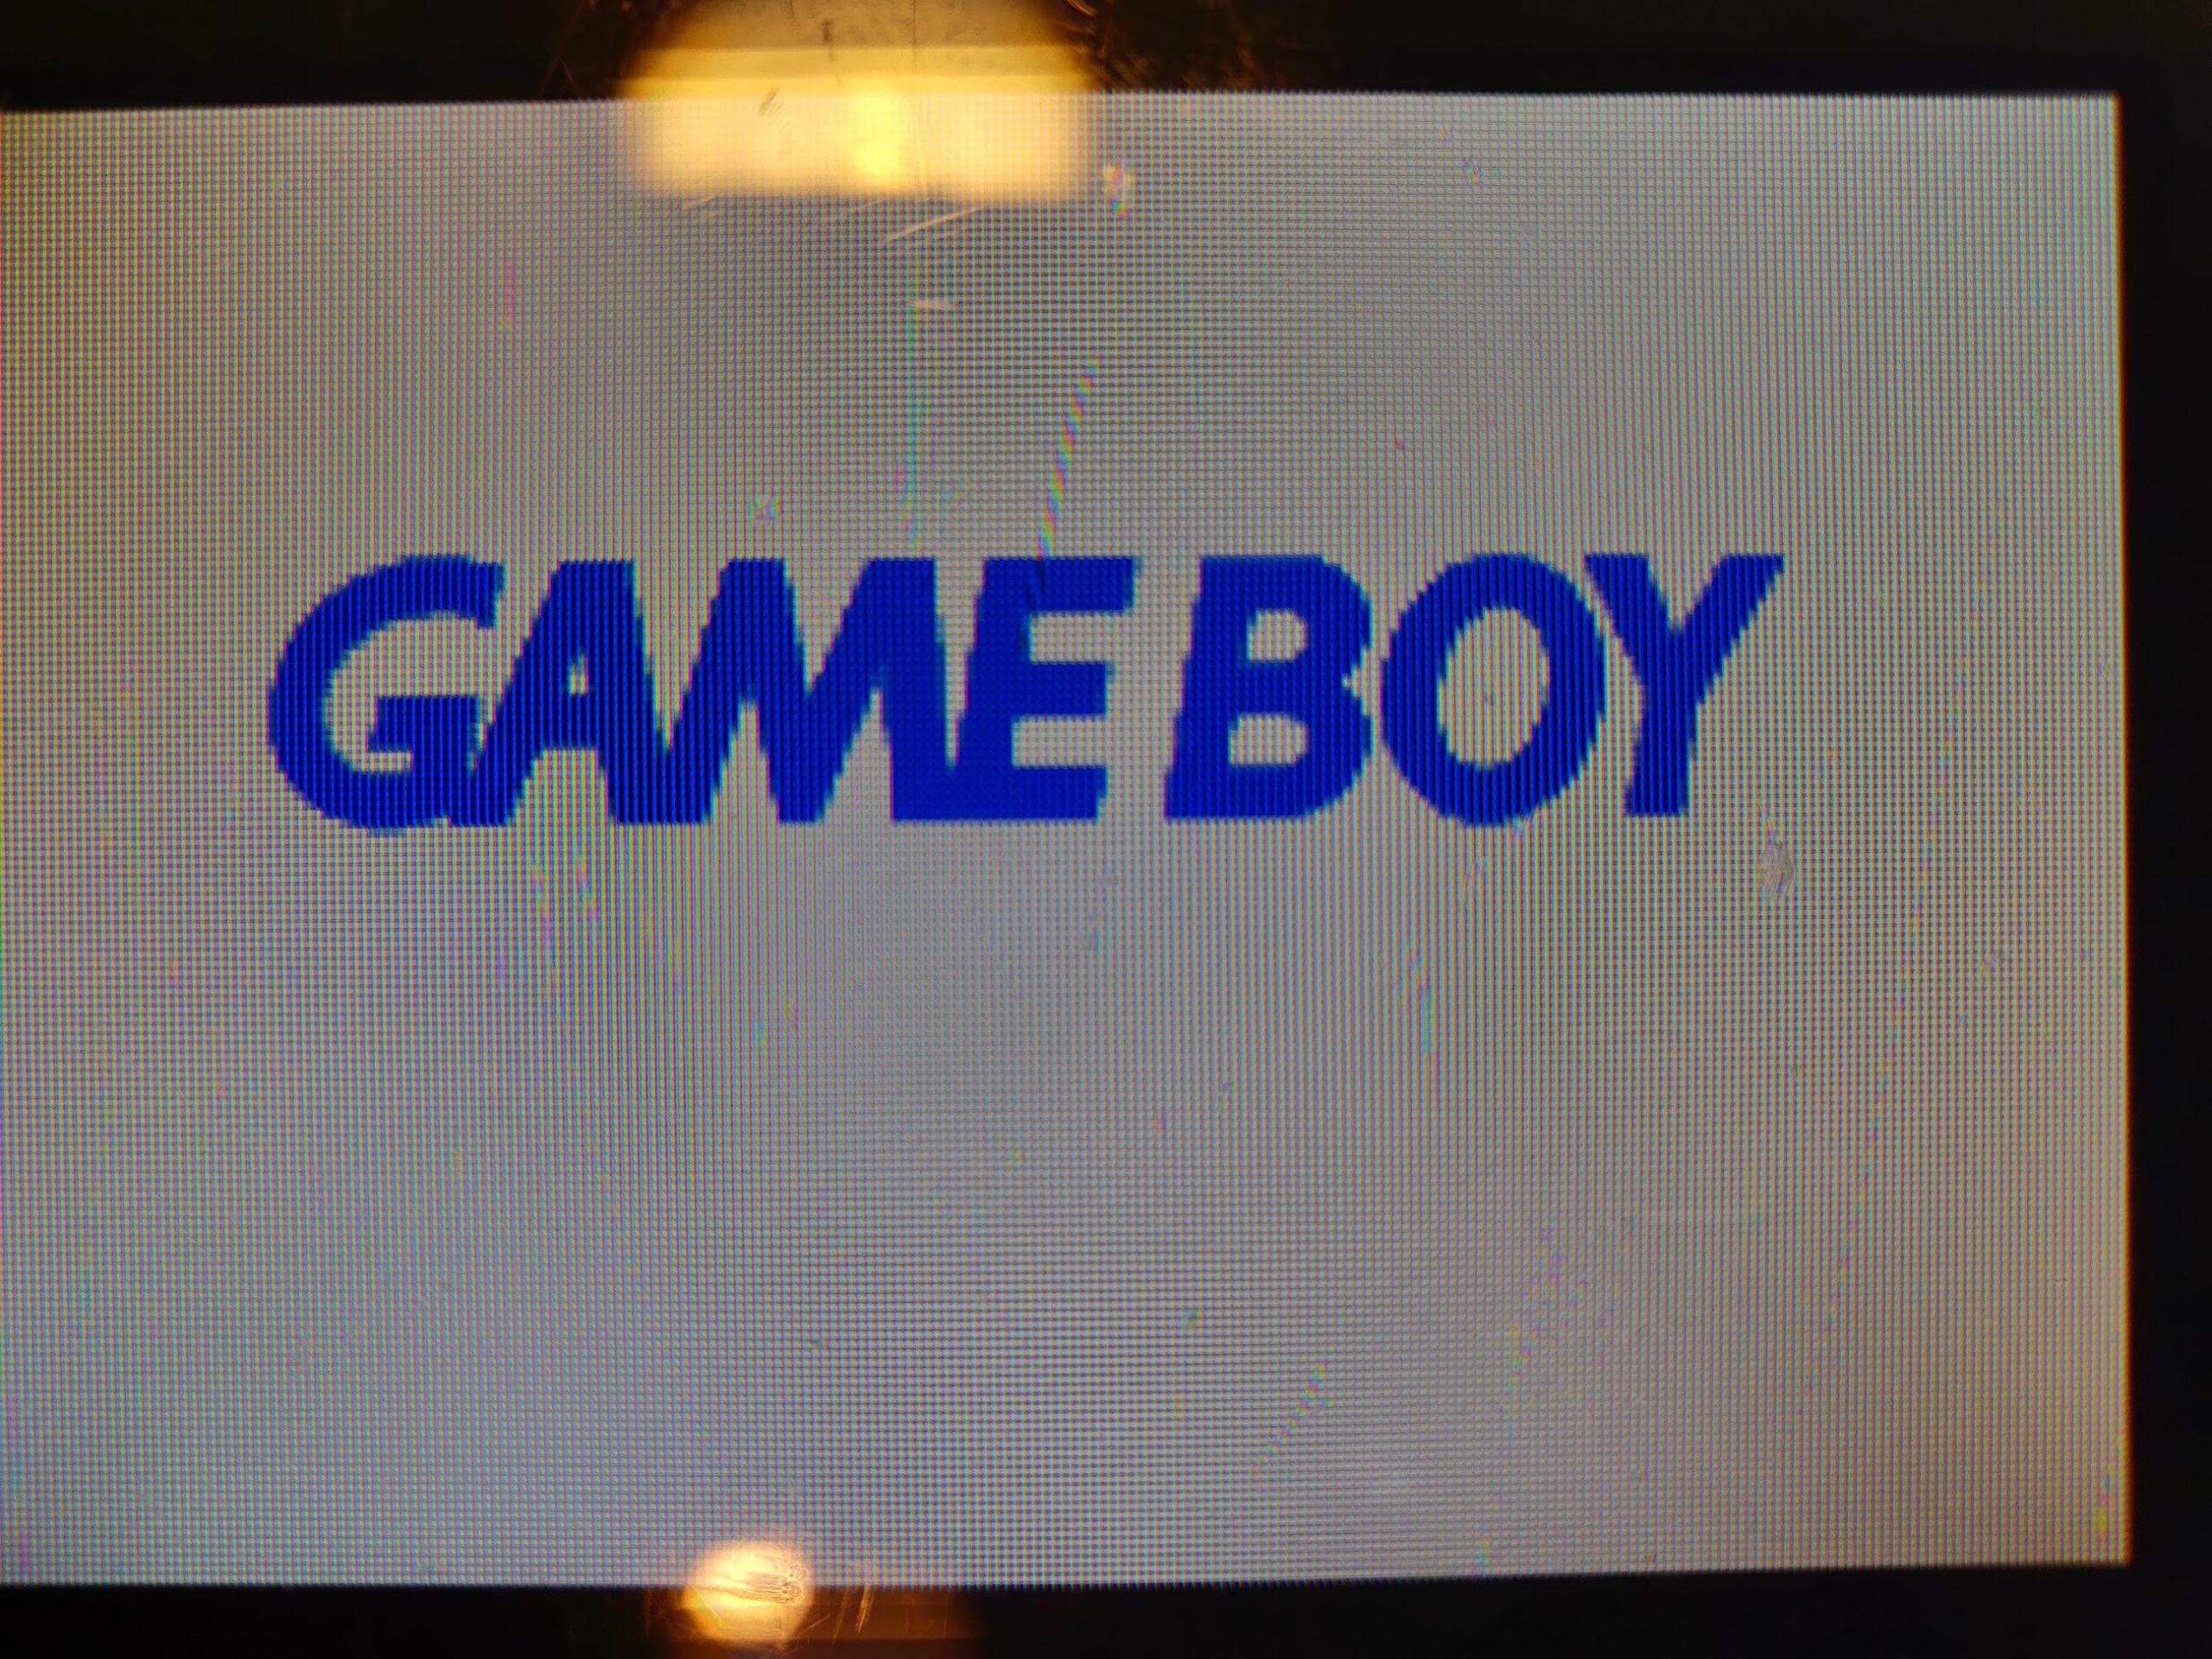
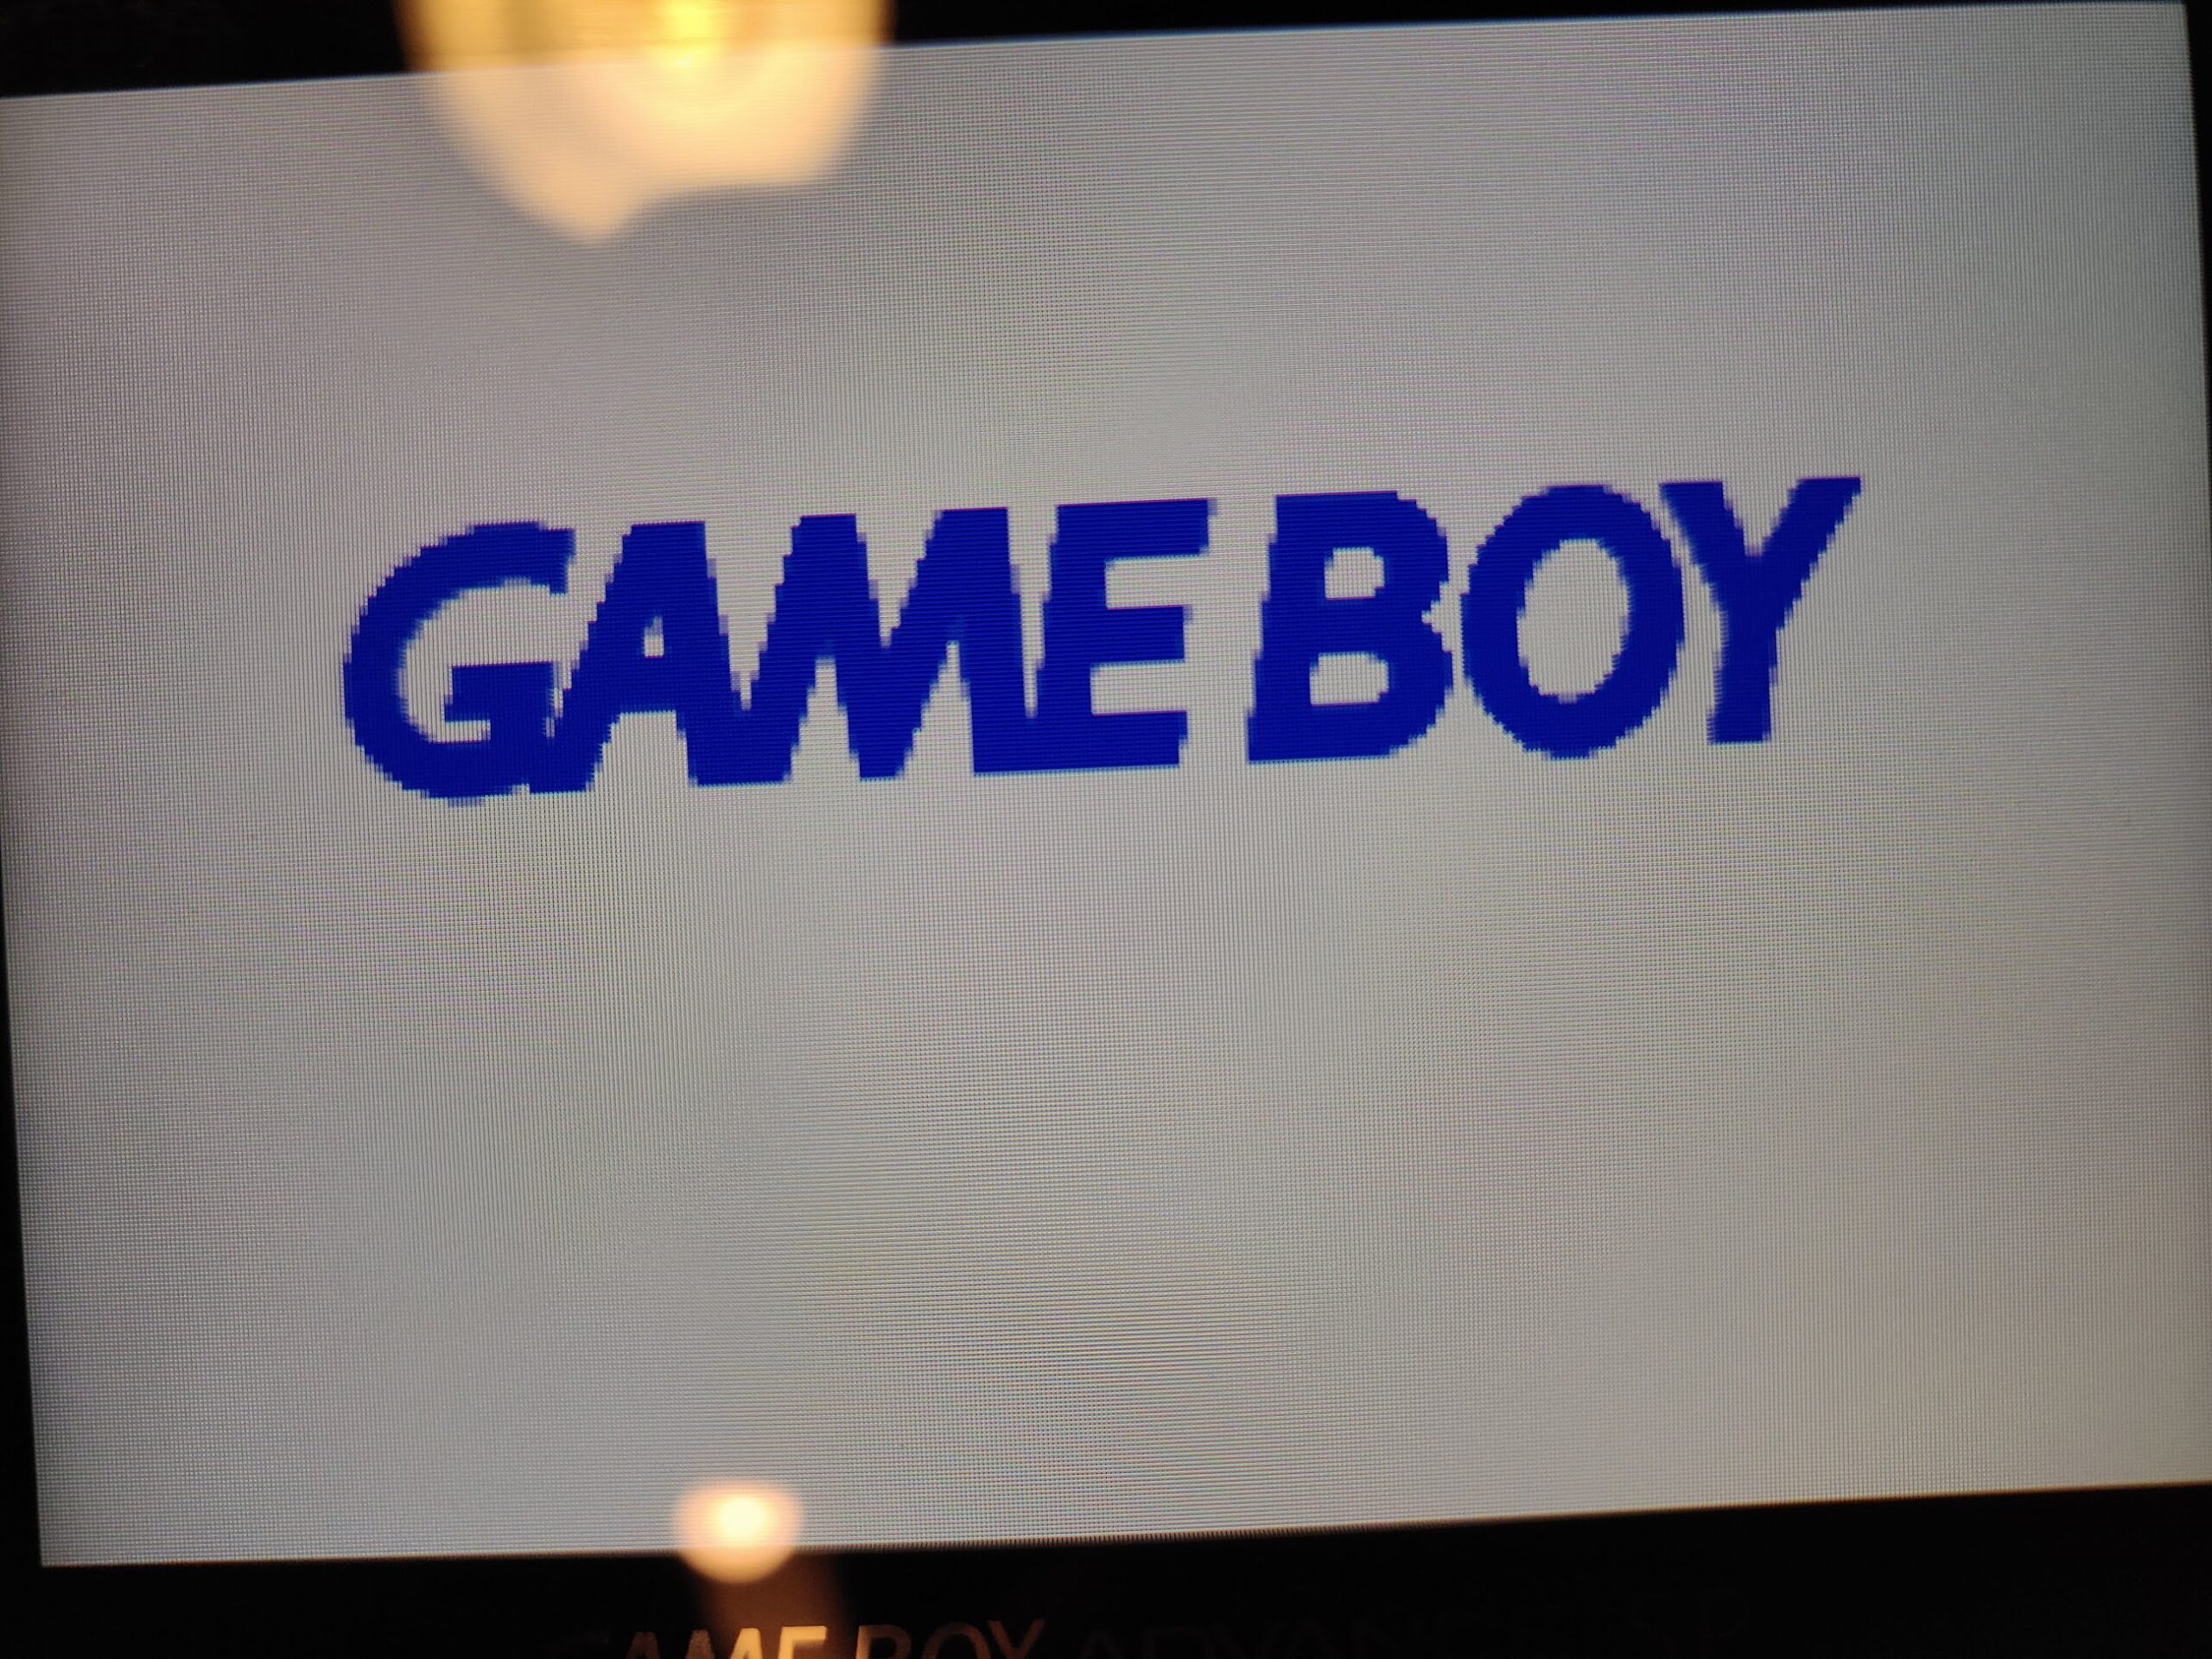
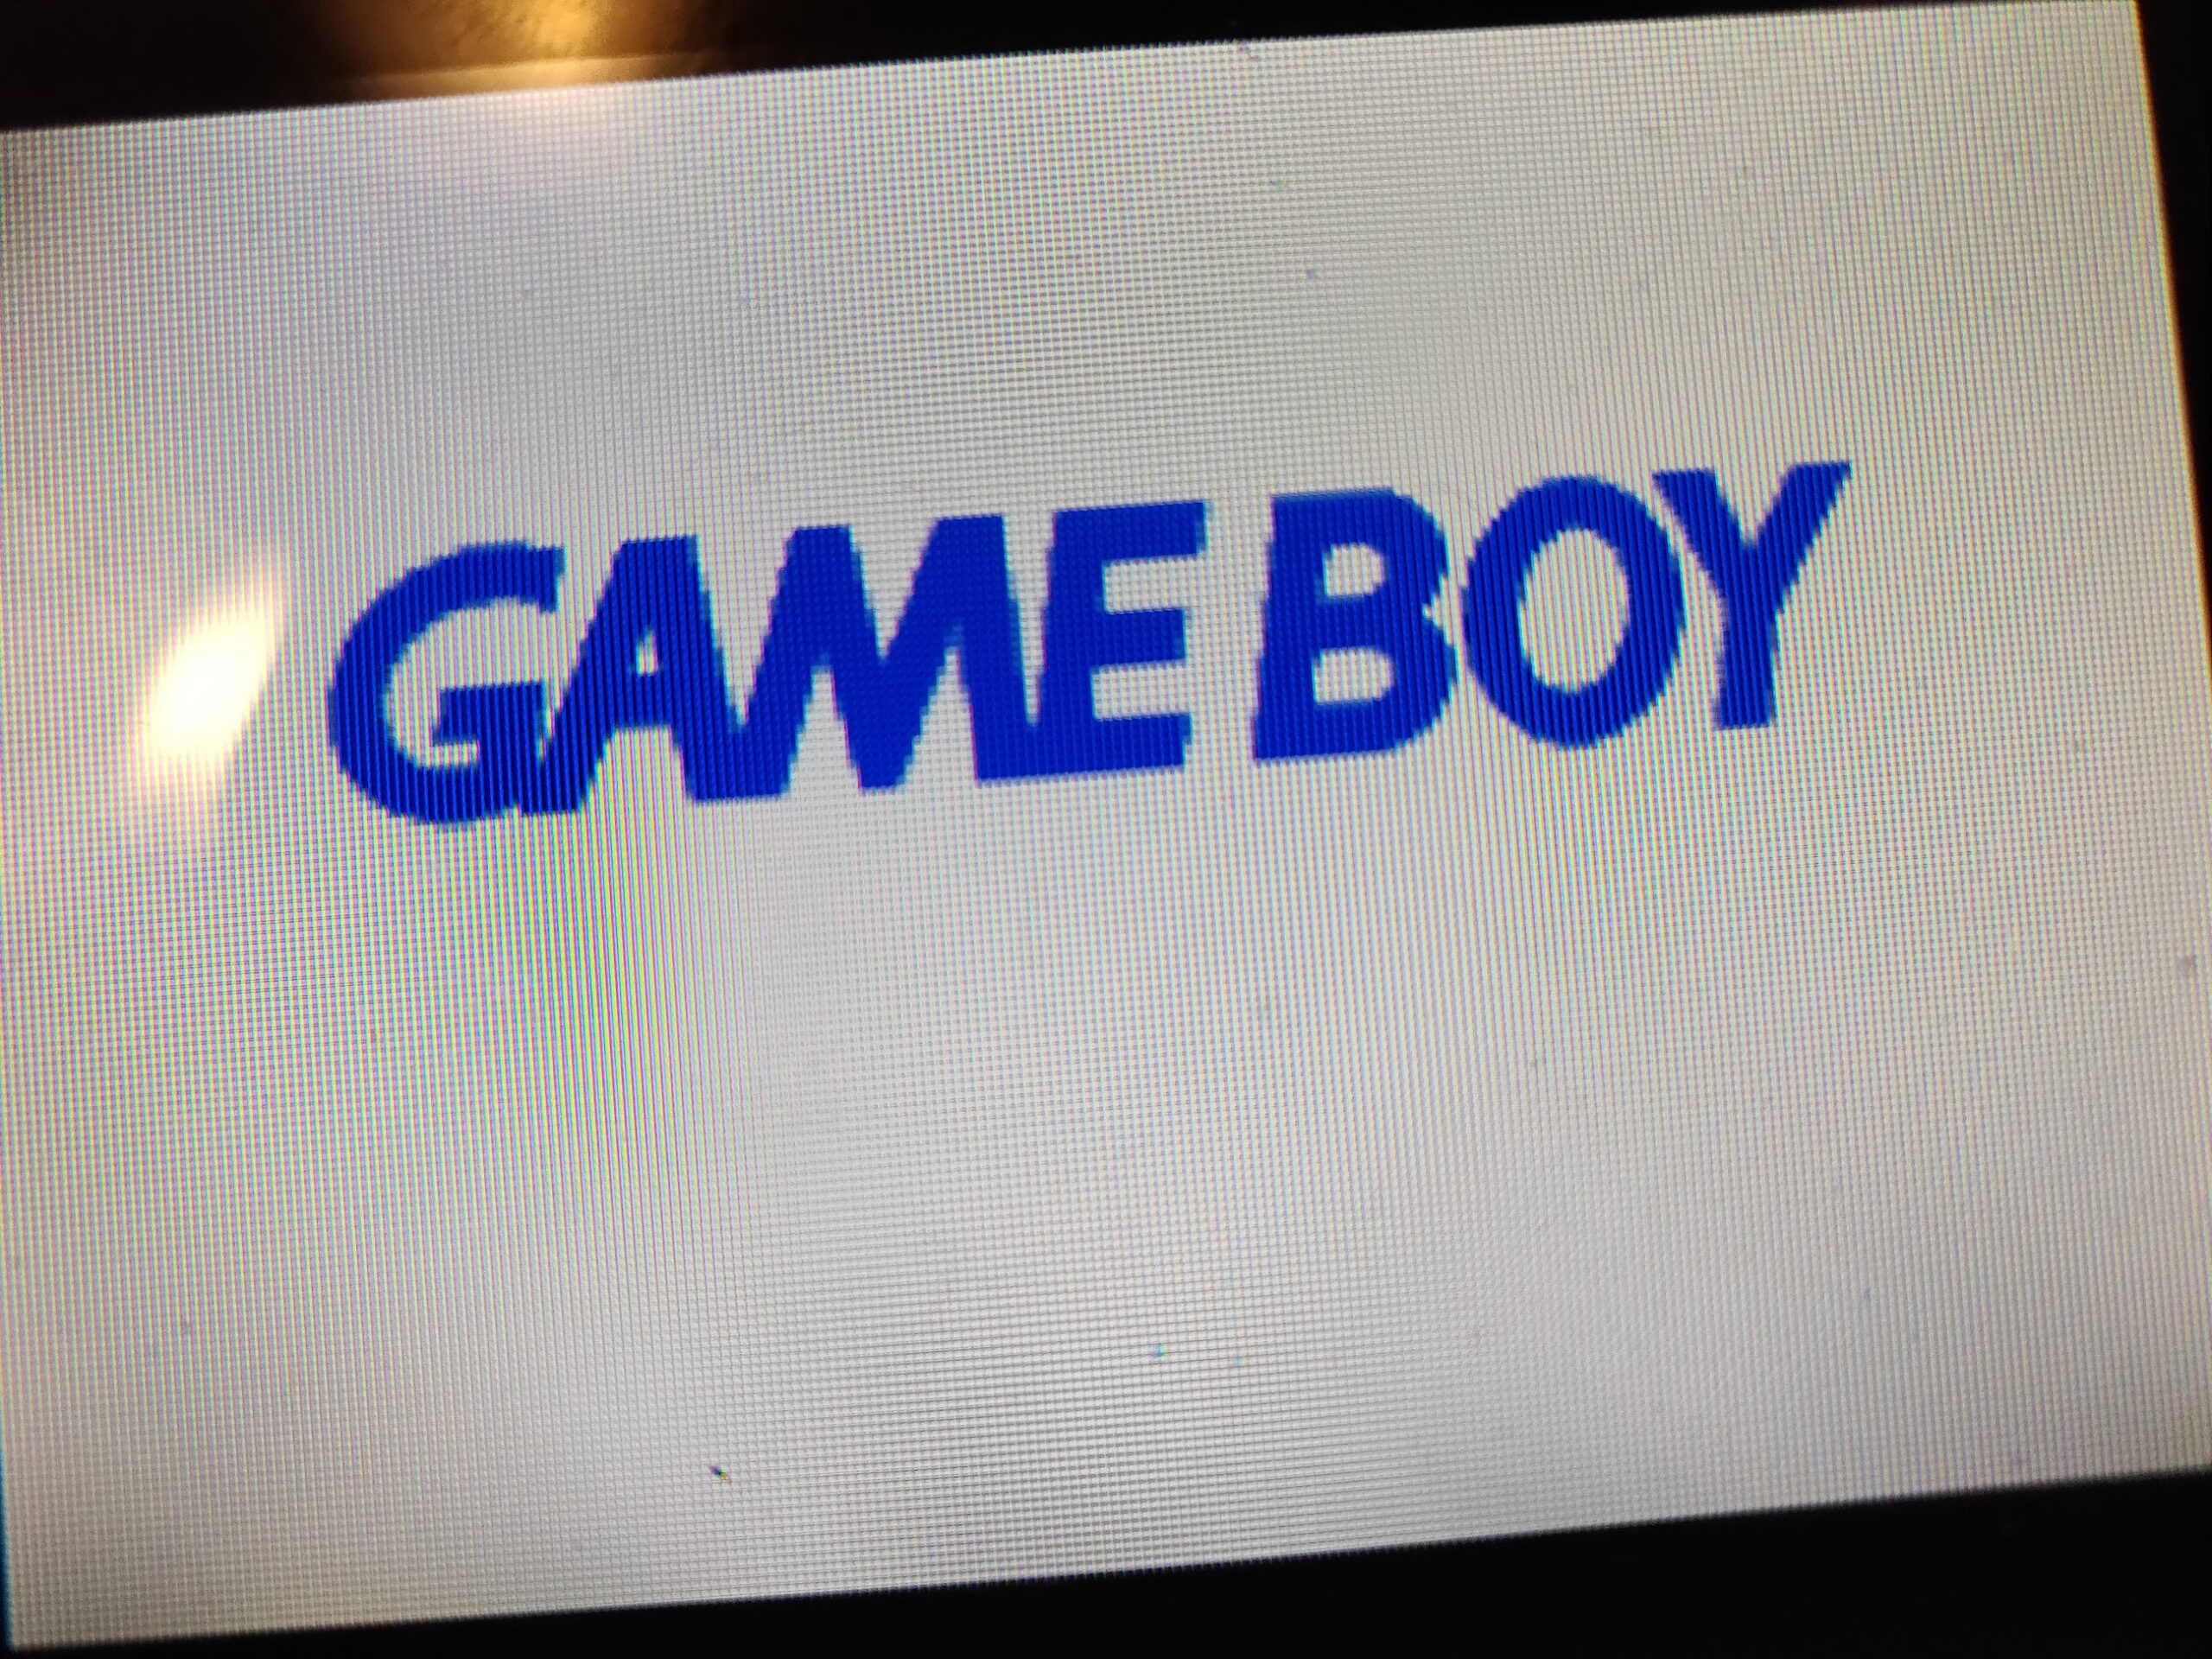
Now all my GBAs have backlit screens. Funnily enough, the original 101 screen is the worst of them now , with the aftermarket backlit taking second place and of course the new Funnyplay IPS taking first place
Here are some close ups of the 3 screens. See if you can spot the new IPS (hint: it has 4x the number of pixels, so it’s super sharp compared to the others with no visible gaps between the pixels).