I’ve recently replaced my Gotek which I described in previous posts (http://www.karios.gr/?p=1029 and http://www.karios.gr/?p=1003) with a Micro Gotek (found here: https://www.sellmyretro.com/offer/details/32413). As a reminder, the Gotek and Micro Gotek are floppy emulators that replae the old-school floppy driver on the Amiga and can read and write on virtual floppies stored on USB sticks (called adf files).
The main difference between the two is the size that takes inside the case and convenience with the cabling. In the old Gotek, I needed to solder wires on the switches for example while the Micro has everything on normal headers, for buttons or a rotary encoder. I chose the latter, which is much more convenient for scrolling through lots of ADFs while still using the encoder as a button to load or eject virtual discs. Another big difference is that you can connect the USB outside of the case, which is very convenient if you want to change USB sticks often.
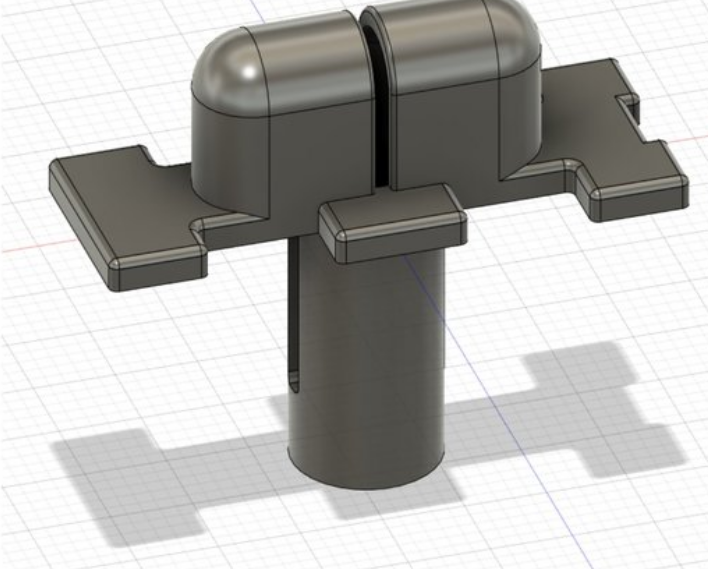
I chose the Micro Gotek version that goes directly on the motherboard to avoid using a floppy cable and the need for yet another 3d printed base to base the Micro Gotek on. I also printed a new version of the control box to accommodate the USB and the encoder. I shared the file here:
https://www.thingiverse.com/thing:3485091

This is a work in progress and I do already regret putting the USB and encoder on the same place, which I plan to change in later versions. If you push them enough though, they will fit.
I also printed the encoder cap found here:
https://www.thingiverse.com/thing:2832652
Having the Micro Gotek directly on the floppy connector on the motherboard also leaves few choices for getting the cable outside of the case of the A1200. One would be through the ventilation grills and another from the back side (e.g. the expansion port), using cable extensions.
The Micro Gotek uses the same FlashFloppy firmware which I used for my original Gotek and it updates just fine (I have it updated to version 1.0, which is the latest at the time of this writing, with no problems). It also works great.
The final result looks like this:


About The Author